Category Archives: Computer Engineering
ENC28J60 + Arduino

2023/11/09
Arduino Function Generator
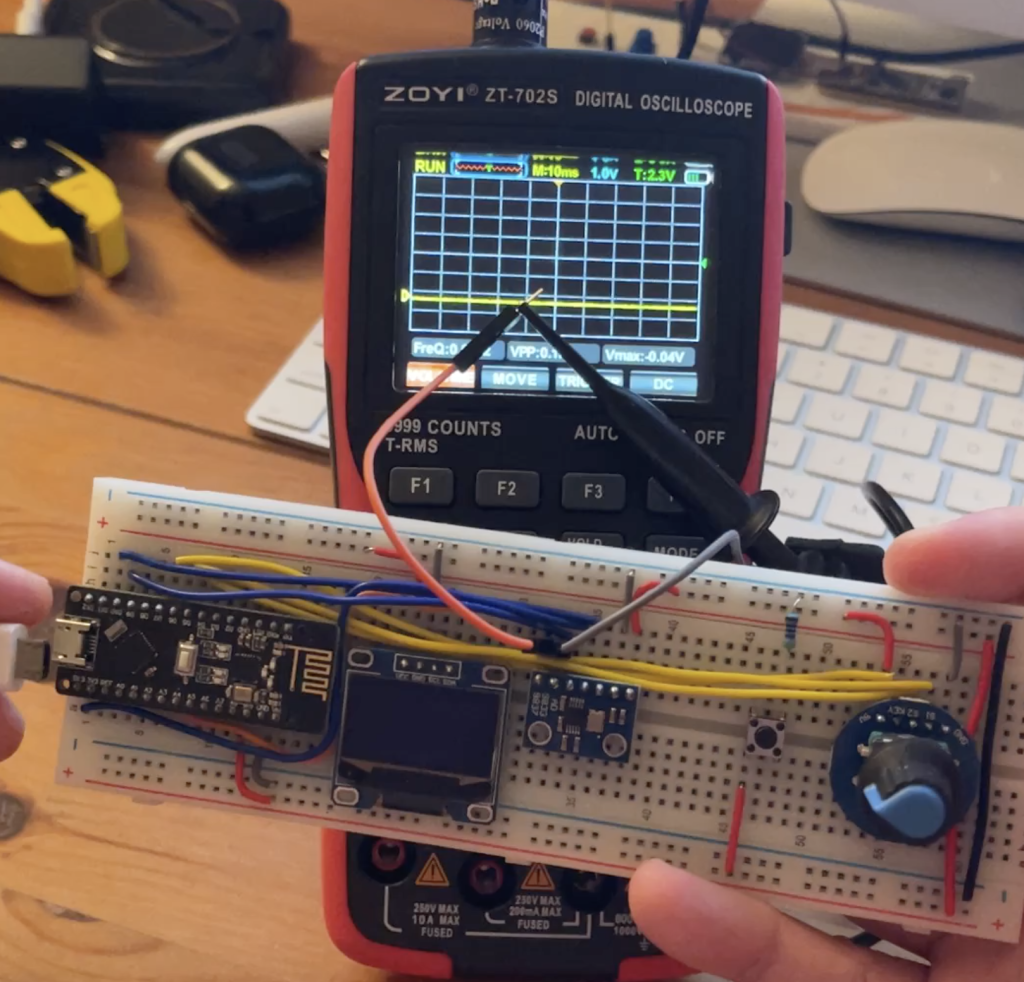
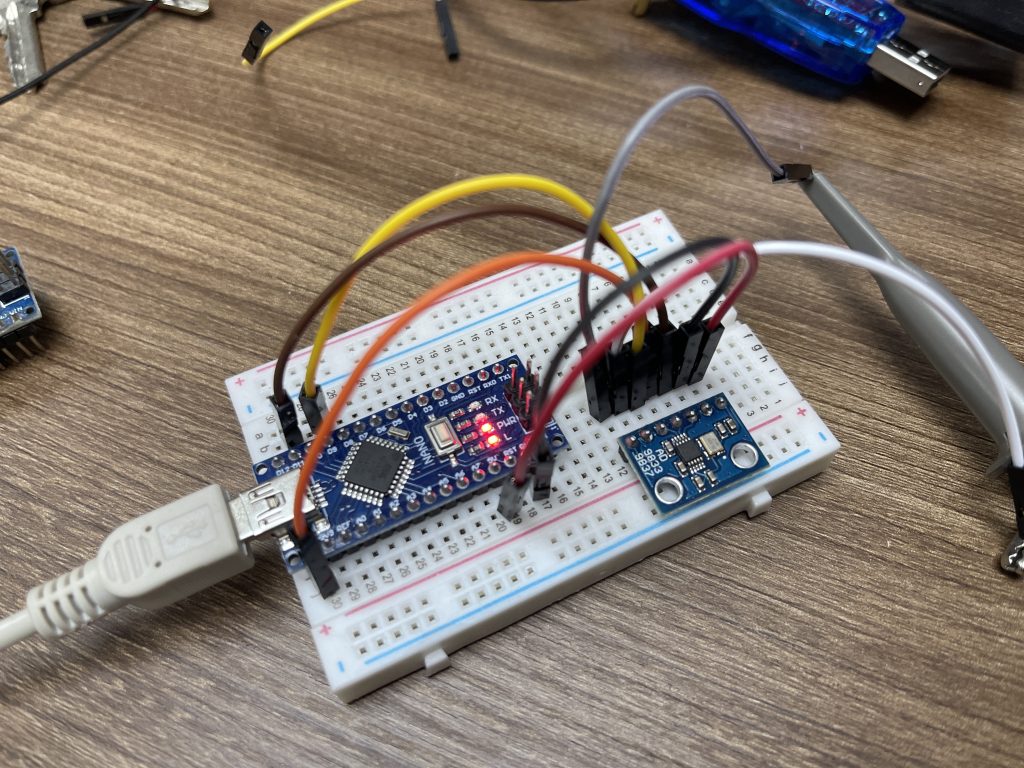
I am using Nano and AD9833 to build a simple function generator. Code in here https://gitlab.com/quantr/hardware/arduino-function-generator 2023/11/07
Arduino + AD9833 using library by Rob Tillaart
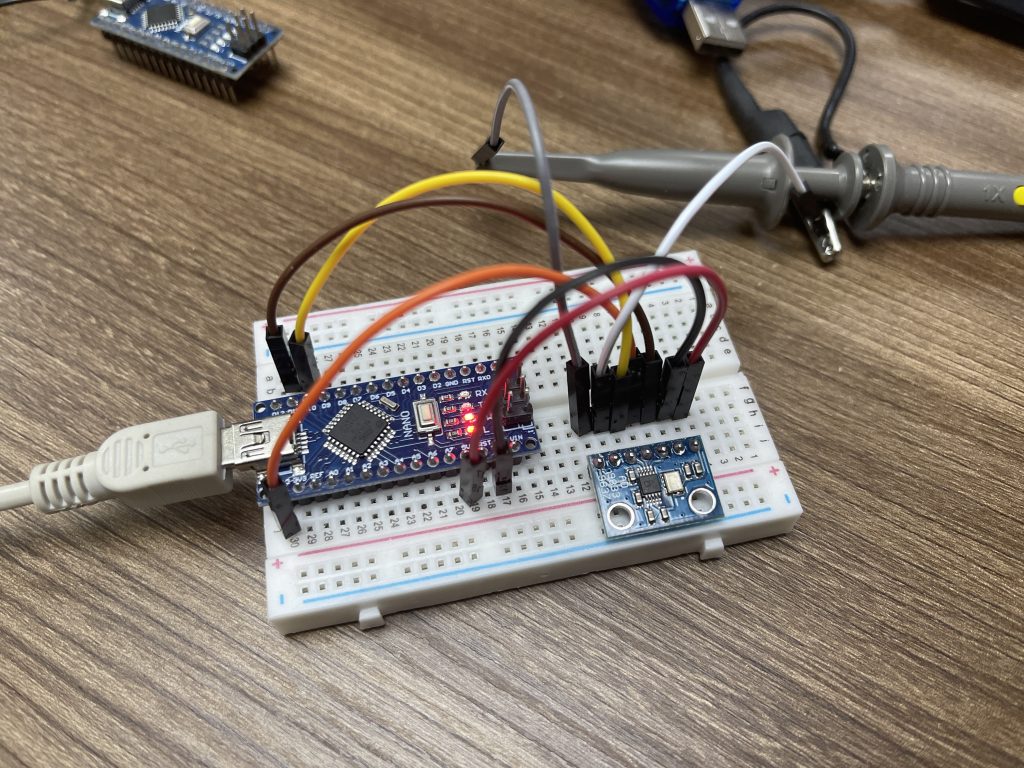
Buy the board here : https://item.taobao.com/item.htm?spm=a1z09.2.0.0.6caf2e8dU9c4dS&id=590166217396&_u=6buhab0a8d9 Install the library, see below Make sure connect these pins to the board, total 5 pins, follow below Refer to https://github.com/RobTillaart/AD9833 , more examples in https://github.com/RobTillaart/AD9833/tree/master/examples 2023/11/06
Arduino + AD9833
Buy from here. I am using the example from here but ignore the switch buttons. You need to add this zip into the library and make sure don't install the other library call "AD9833", very important 2023/11/06
Rotate button by Arduino
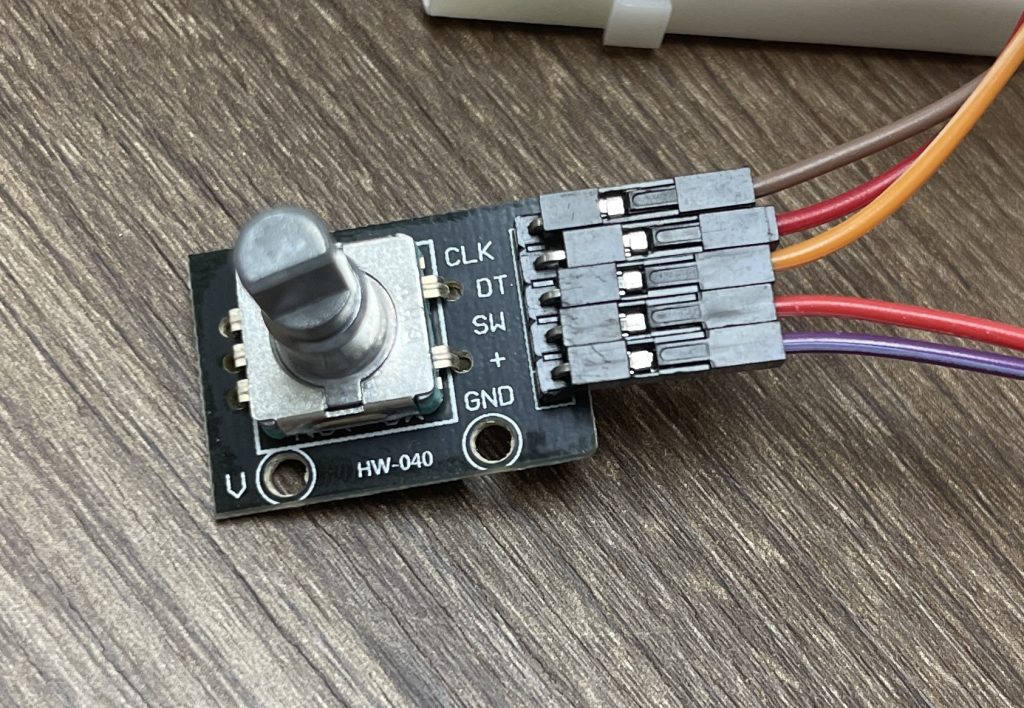
Refer to https://zhuanlan.zhihu.com/p/349824627 , buy from here 2023/10/30
MCP4725 I2C DAC Breakout board
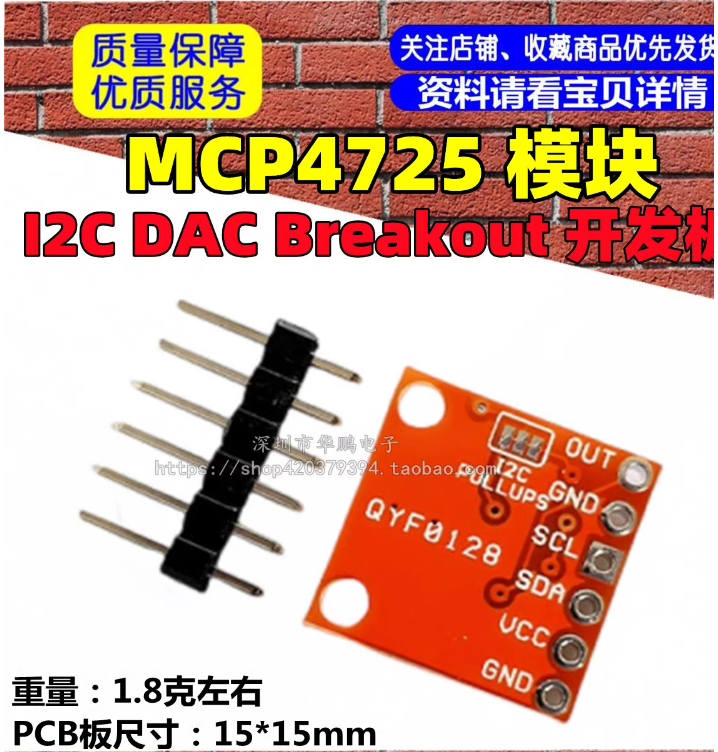
Bought from here Testing maximum frequency, around 800us 2023/10/30
GY-4725 board

Bought from here. This code test maximum frequency, around 1ms period is peak Documents 2023/10/30
計準NPN了

Main point: calculate Ib, we can do it by Ib=Ic / Beta min OR Ib=(Vb - 0.7) / Rb 2023/10/27
FPGA Research
This is a synthesis of a simple verilog program in vivado 2023/10/14
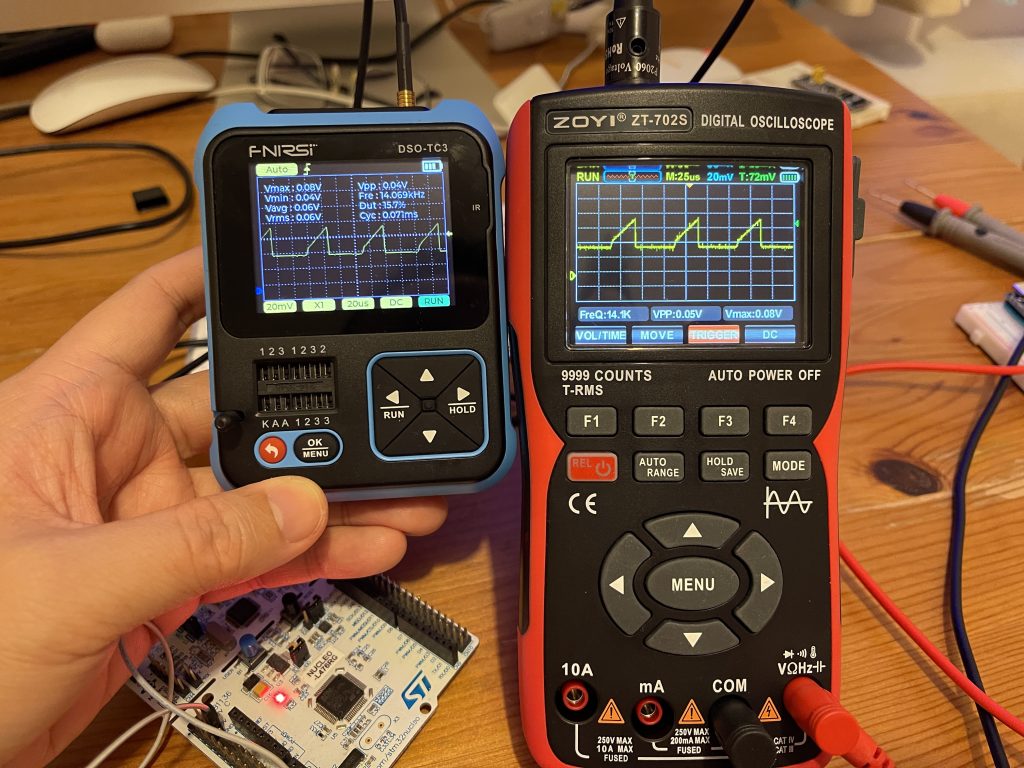
Funny Toy : Oscilloscope

I got this electronic toy from Taobao, i want to have more experience on soldering and putting different components on the PCB and making them work. After 3 hours in soldering and 1 hour in debugging, i finally make it works https://v.youku.com/v_show/id_XNjAyNDAwNDY2OA==.html?spm=a2hje.13141534.1_3.d_1&scm=20140719.manual.240103.video_XNjAyNDAwNDY2OA== All documents here 2023/10/09
Nucleo-L476RG DAC
2023/10/08
砌機 : FPGA
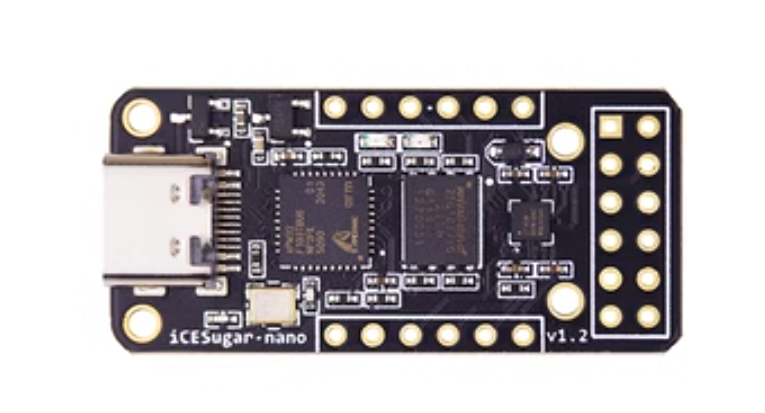
Lattice FPGA比STM32簡單, 我應該可以搞得掂 用户手册: https://github.com/wuxx/icesugar-nano/blob/main/README.mdwin7串口驱动: https://github.com/wuxx/icesugar-nano/blob/main/doc/usbser.inf原理图及源码: https://github.com/wuxx/icesugar-nano 主要component其實得兩個: FGPA同粒Flash 2023/10/05
Multimeter book, teach you how to build one

2023/09/16
Arduino read/write AT24C256
Many examples not work from google, it is because it needs a delay after write operand, so i put delay(100) 2023/08/31
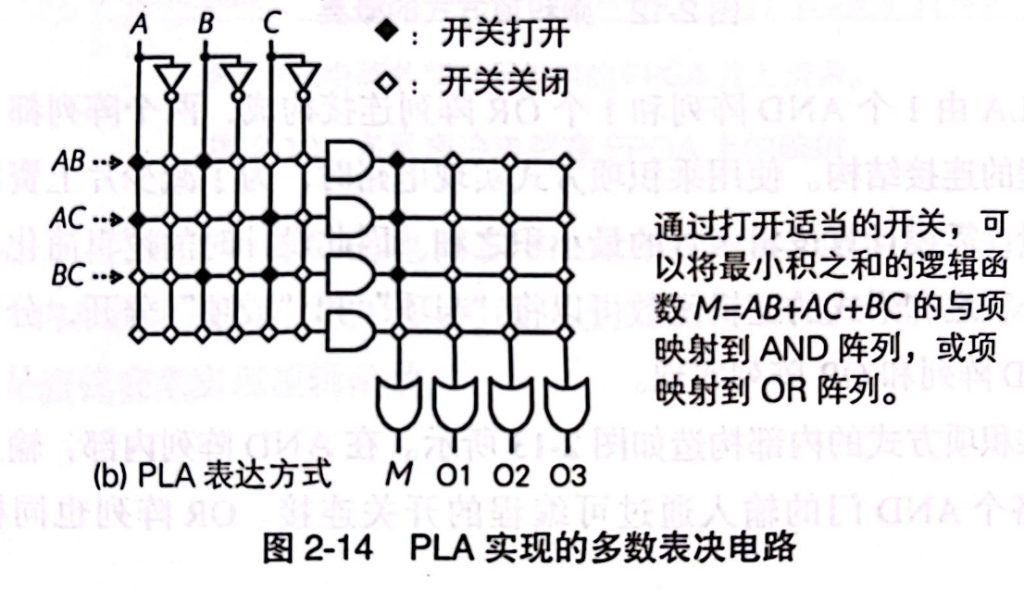
Quantr-Logic + PLD

We are thinking of synthesis logic into FPGA but the task is quite complex, We found a new way to do what we want: We generate the jedec file and let the end user burn it into PLD. This brings us the ability to design logic from Quantr-Logic, kick a button, and burn it into […] 2023/08/28
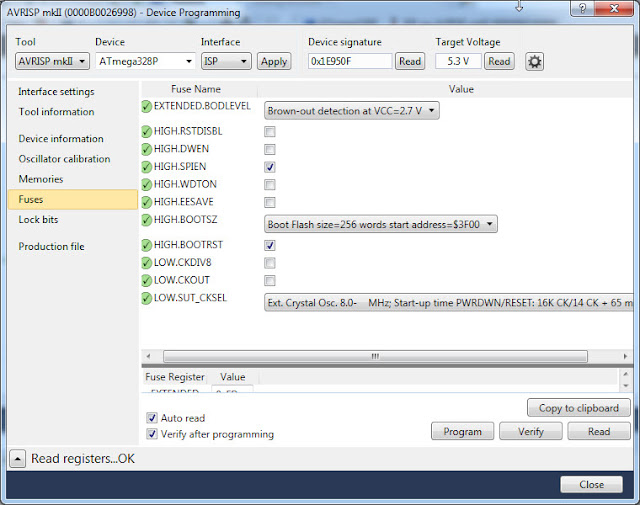
ATMEGA328P default fuse
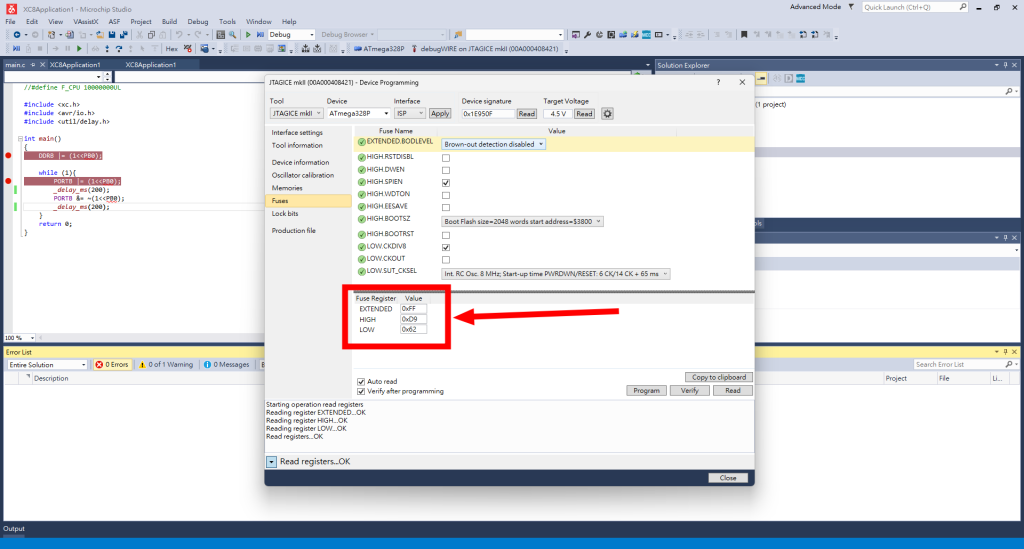
2023/08/23
RISC-V Day Hong Kong 2023
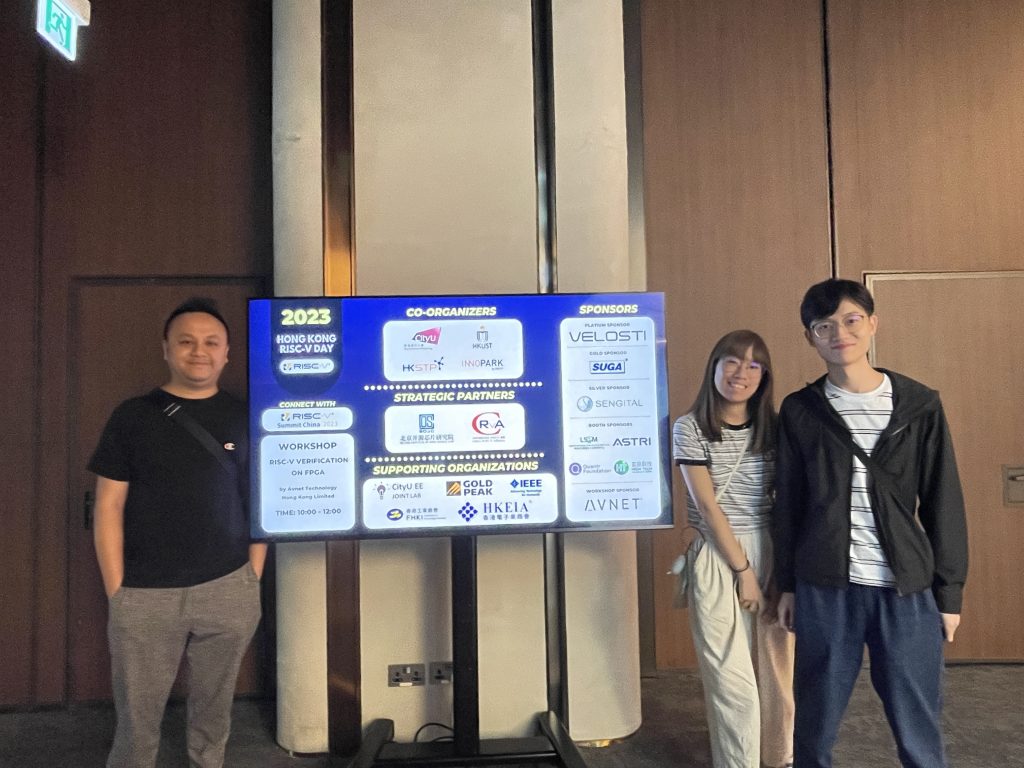
thank you Professor Ray invited us to join 2023/08/22
VTC個online library係無敵嘅
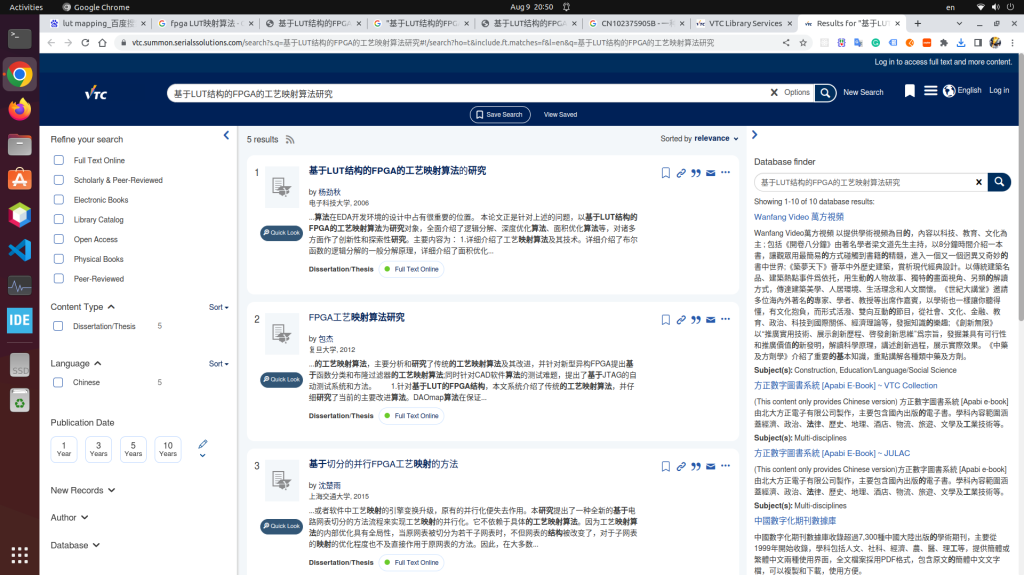
Download論文一個click, 至少比Cityu無敵 2023/08/09
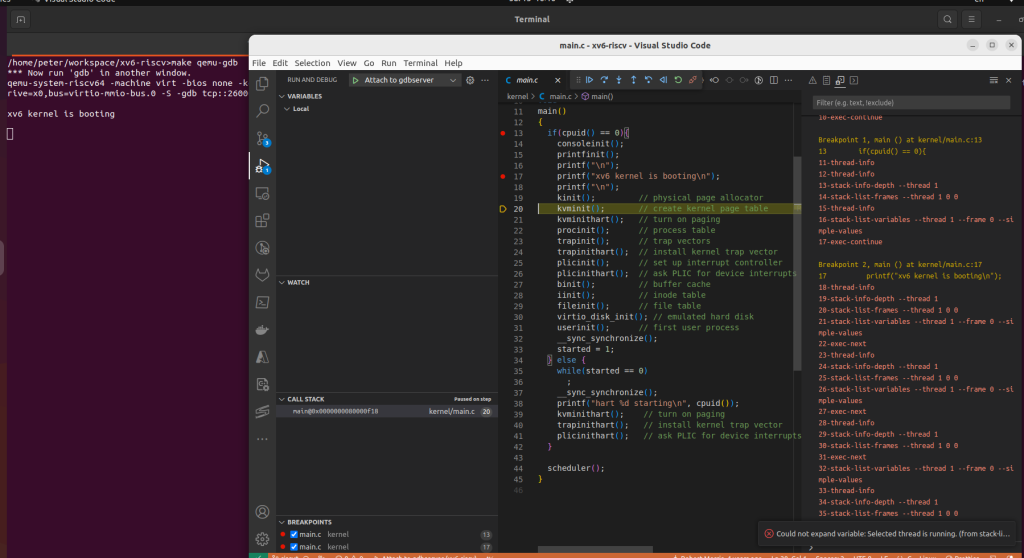
Support debug using vscode for xv6-riscv
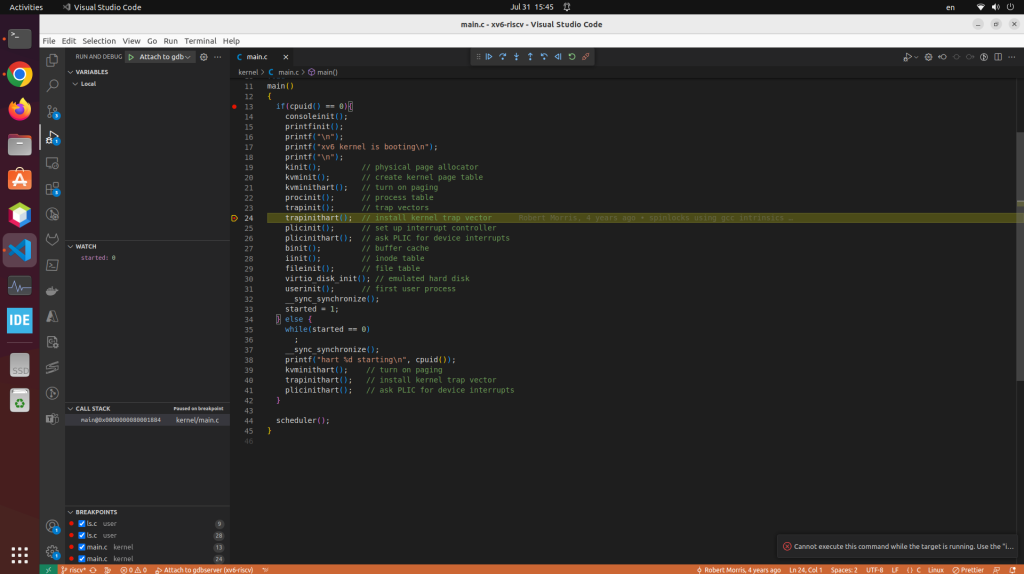
launch.json in ".vscode" folder tasks.json ".vscode" folder Remove "-O" in Makefile run: set some breakpoints in vscode make qemu-gdb click the "run" button in vscode, see below 2023/07/31
Elec components related to FPGA
2023/07/21
Nand / Nor
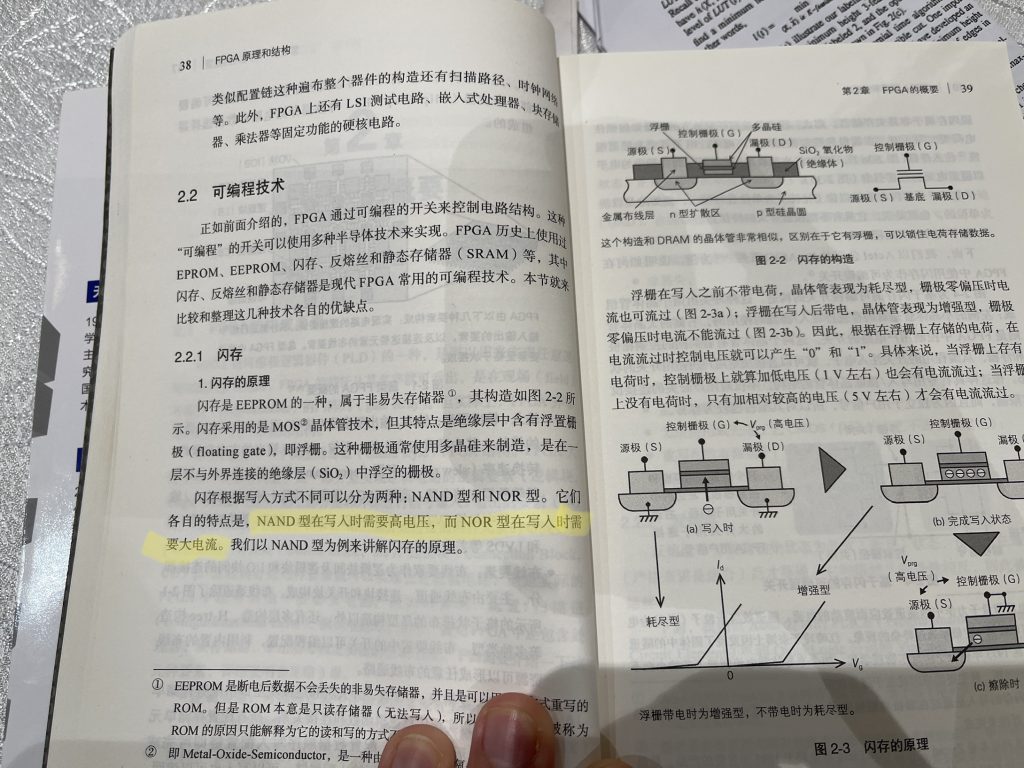
i know any gate can convert to NAND or NOR, asked many time why people always use NAND instead of NOR, no one can answer, but i found the answer now. NAND need voltage, NOR need current. 2023/07/19
Heltec Arduino super simple tutorial
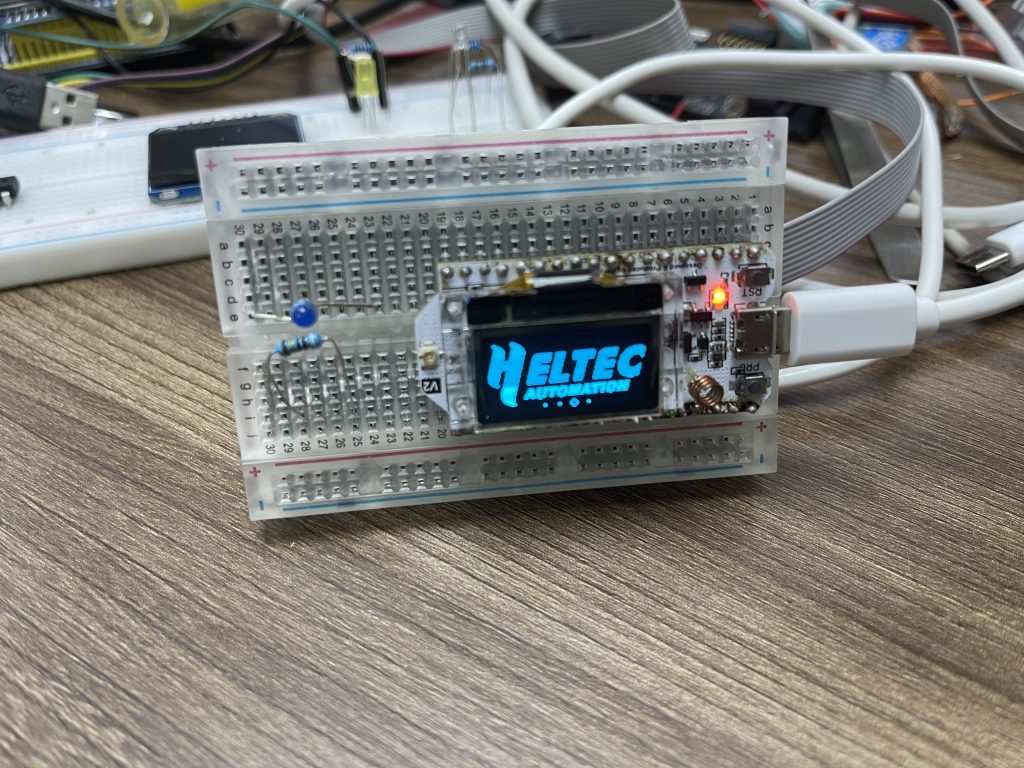
Buy from here. Offical website. Steps to make it work in arduino: 3. Burn these examples To try the wifi example 2. Change the wifi ID and password, case sensitive 3. Run it and see the result in serial monitor, set the baudrate to 115200. It grab the html from outside, see the code then […] 2023/07/17
Arduino Nano V3.0 + NRF24L01

This little board is nearly the same size as nano but embedded with a NRF24L01, and also very cheap $4 USD. To make it works: The "RF24 > Scanner" will works like below 100% compatible with Arduino nano 2023/07/17
CLB and IOB design
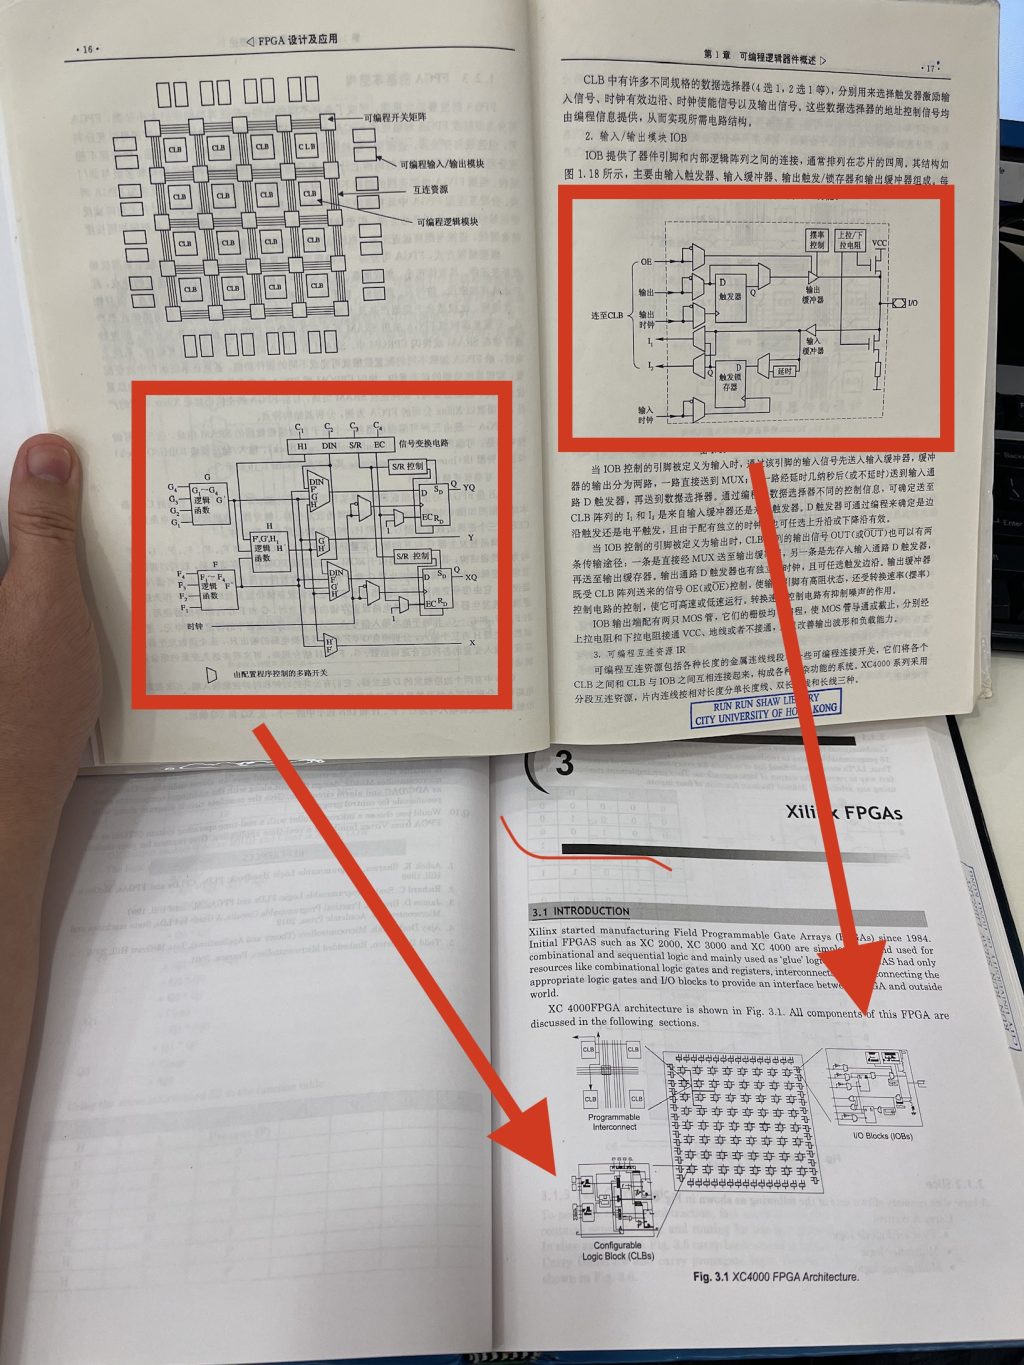
altera and xilinx probably copying each other 2023/07/16
Remote riscv-qemu gdb in vscode
3. Change the no of hart to 1 Result : Step over fully work 2023/07/15
Programming Arduino using STK500 ISP
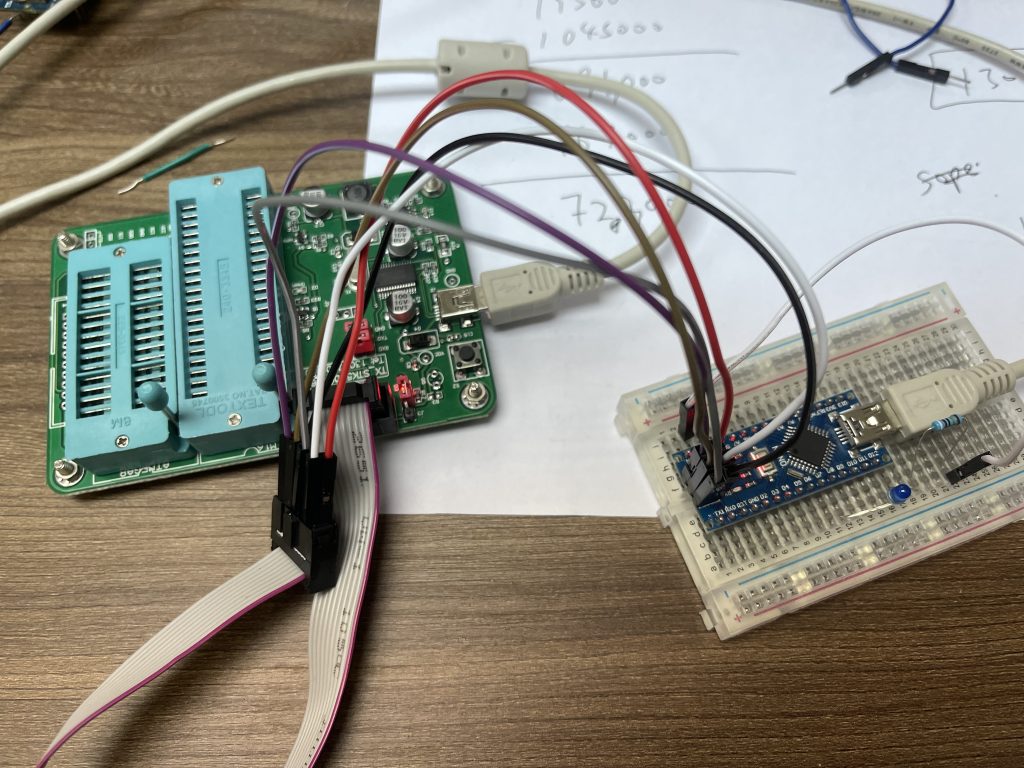
STK500 is better than MKII since it supports high voltage programming, it can reset fuses from any status. Step 1: Install the driver. Must be version from date 7th Oct Plug in the USB, if it detected wrong driver, update it by select specific folder'. Need reboot the computer to take effect. Step 2: connect […] 2023/07/12
Programming Arduino using MKII ISP
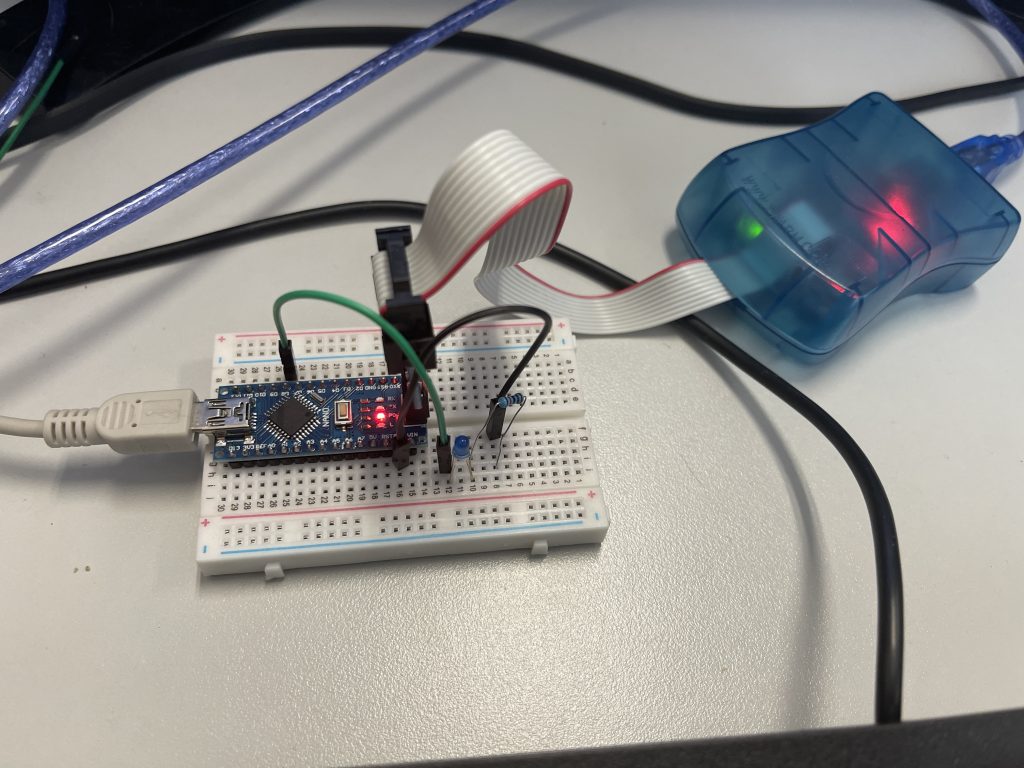
I got MKII ISP from here. To program Arduino Nano via Microchip studio, nothing special, remember have to select the chip. And Nano D8 pin is B0. Nano bootloader can be found in here. 2023/07/12
STM32 power up
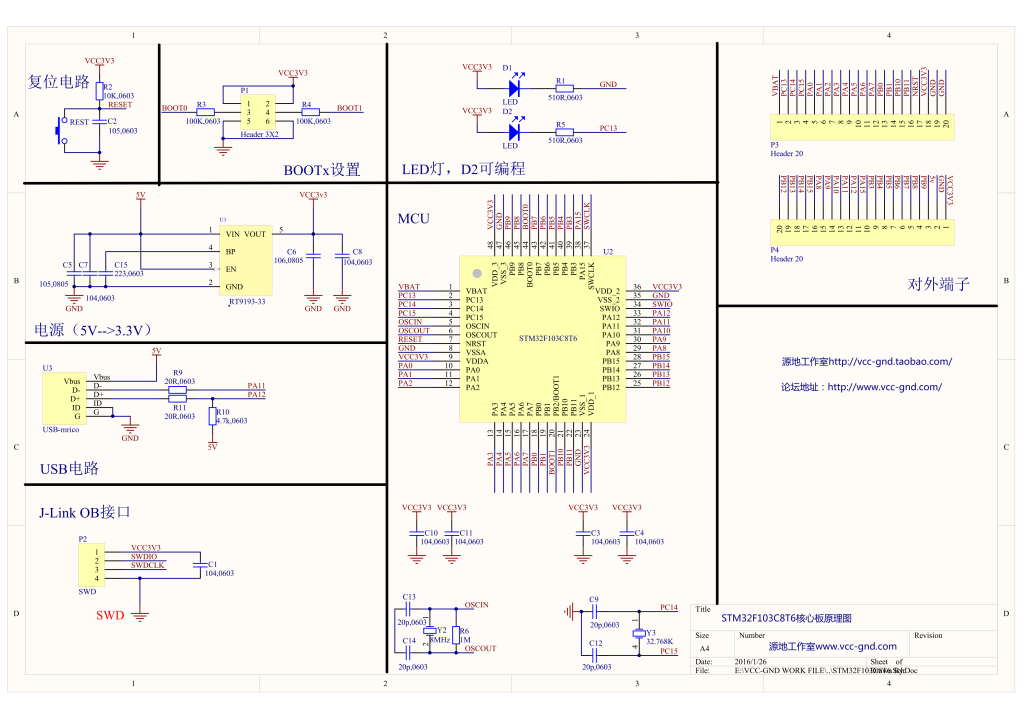
Did it one more time and 2023/07/07
Step to make icesugar 40 works
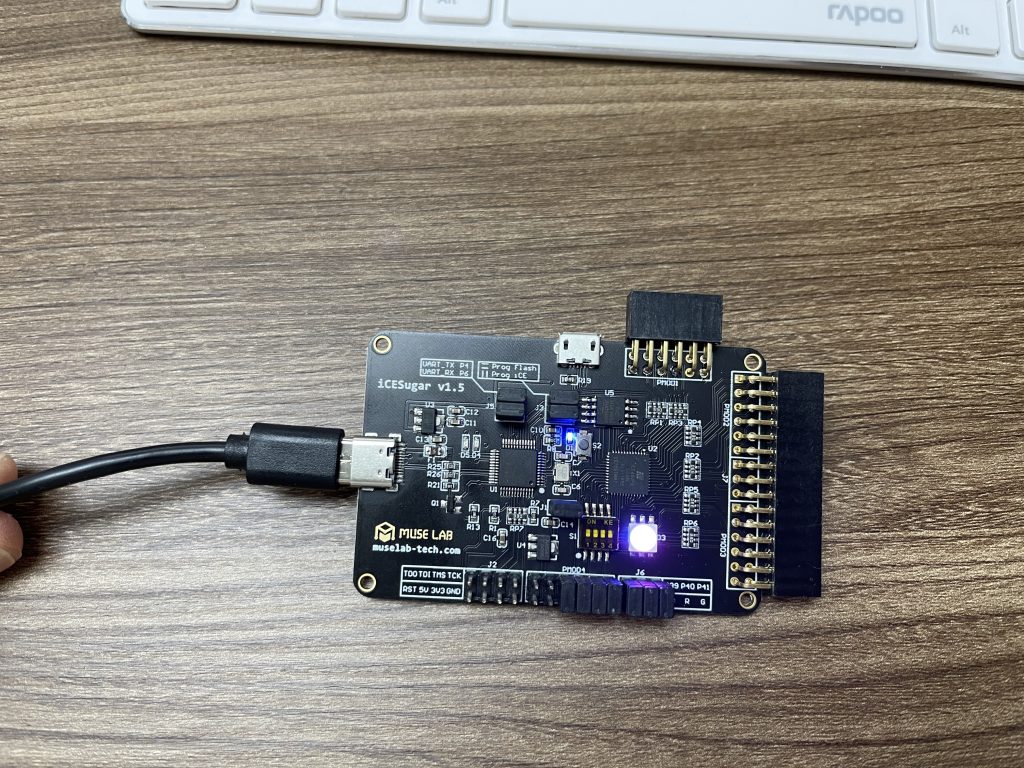
Simplest steps To make the RGB led work, put on these three jumpers 2023/07/05
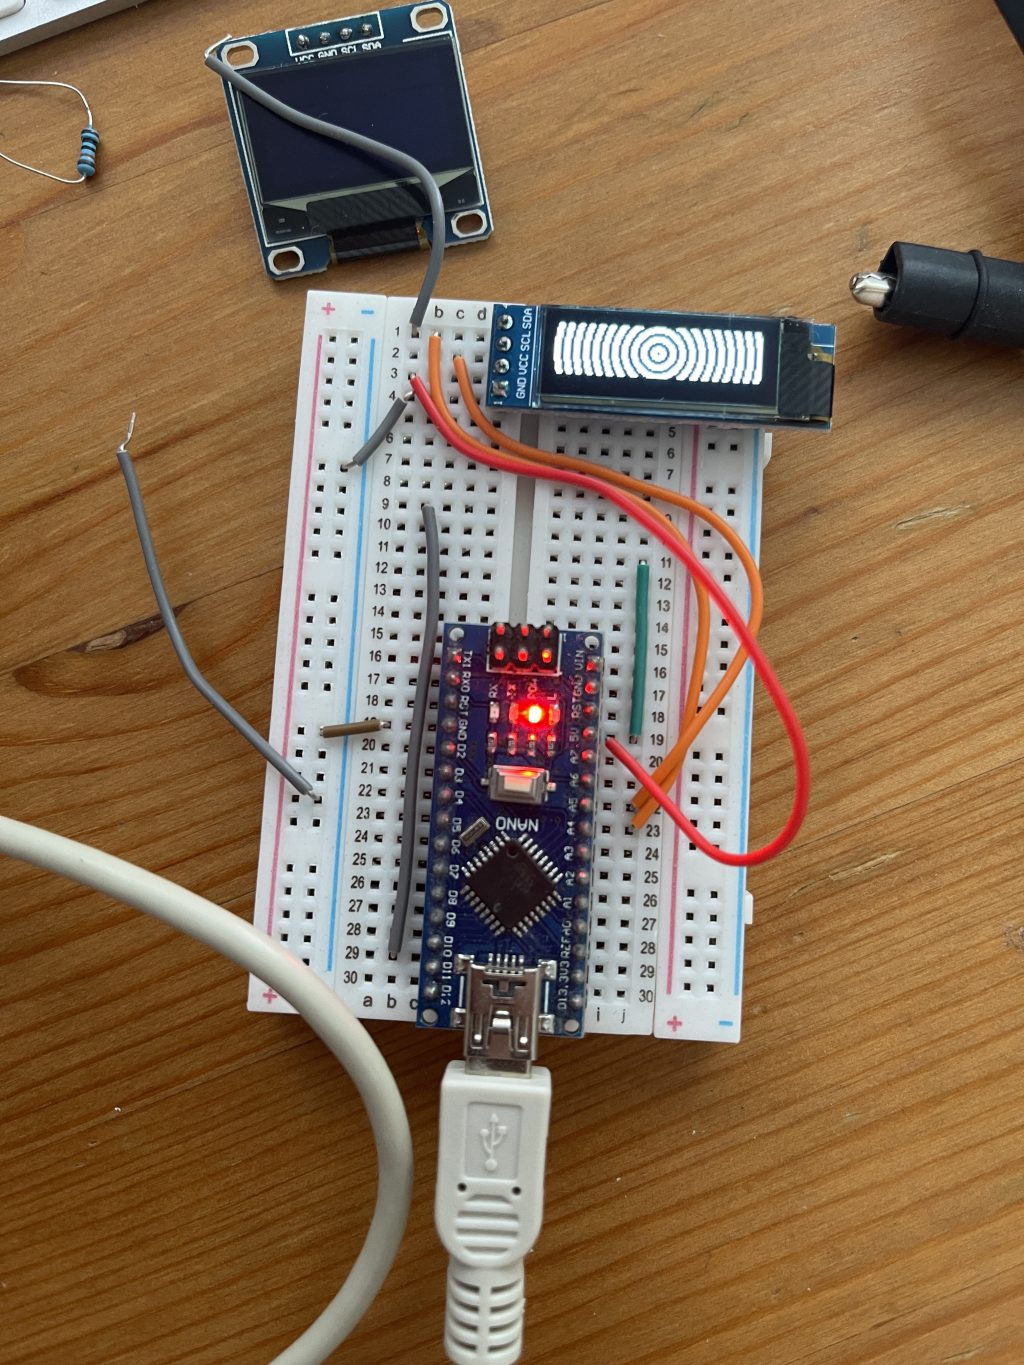
solder resistors to make oled change from spi to i2c

Arduino To make it work in Arduino, don't use adafruit SSD1306, you have to use SSH110X library. Run the example, no need to modify anycode. 2023/06/27
STM32 + OLED 0.96 4pins I2C, works

This video works https://www.youtube.com/watch?v=Mt6U30Yxrr8&t=311s , sample code is in here. 2023/06/21
Arduino Nano IIS + Oled
this youtube works. Oled 0.91 and 0.96 inch both work. Oled can buy in here. The adafruit example is 128x32, need to change to 128x64 for 0.96 inch oled. One thing becareful, 0.96 oled 128x64, the address is still 0x3c, not 0x3d In Arduino IDE, change the address to "3C", otherwise won't work 2023/06/17
We start building benblue computer
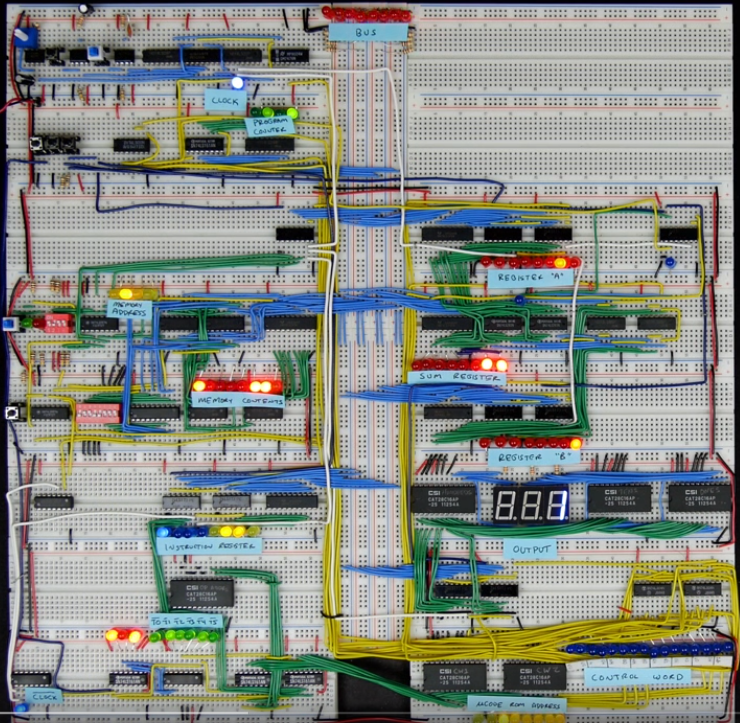
2023/06/11
Teaching teenagers to understand logic
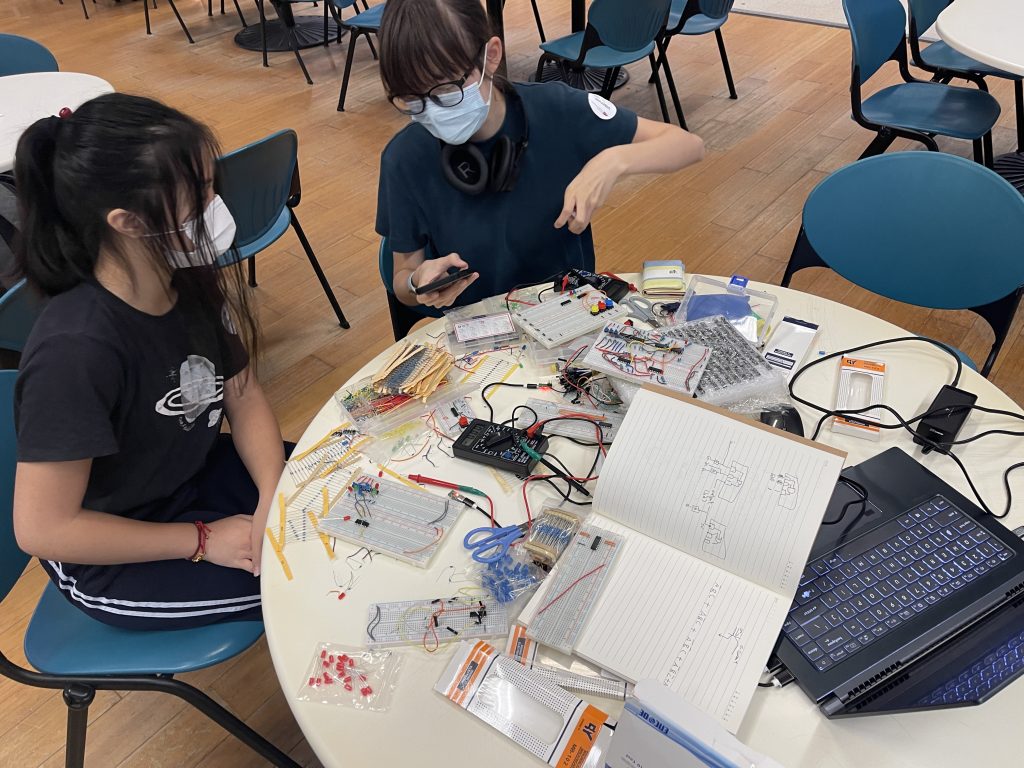
Teaching always sharpen my knowledge, fill up all the missing gap of my skill 2023/06/07
Powerup STM32 by breadboard

I found something: 2023/06/07
ATMega 328p use ext 16M oscilator
https://www.ee-diary.com/2021/06/how-to-program-atmega328p-using-atmel.html 2023/05/25
Very good arduino uno clone
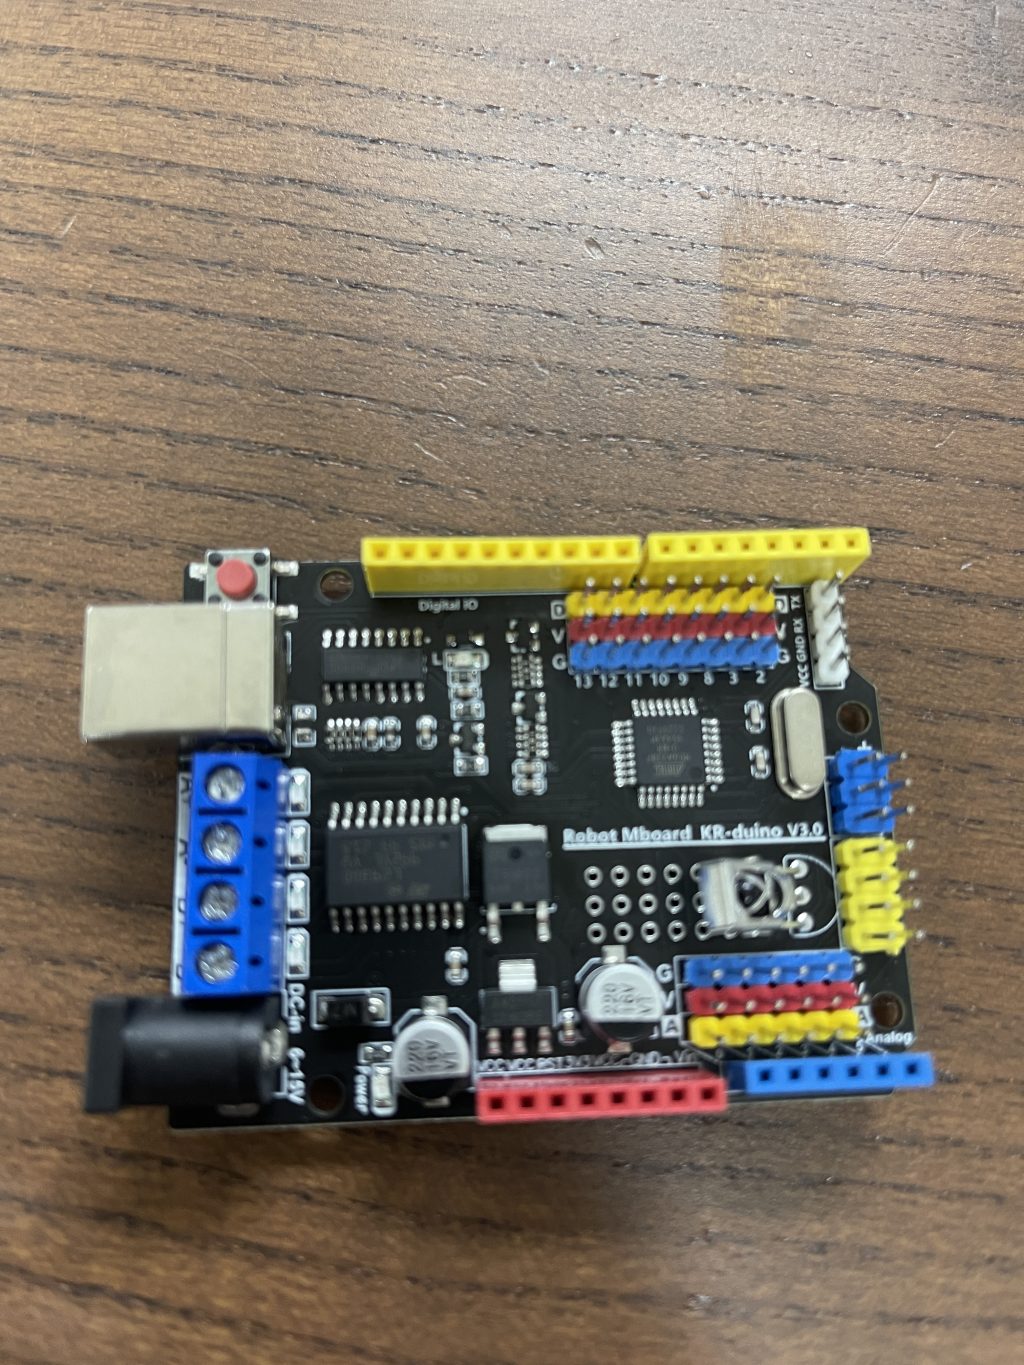
bought from here 2023/05/08
Step to run icesugar-nano
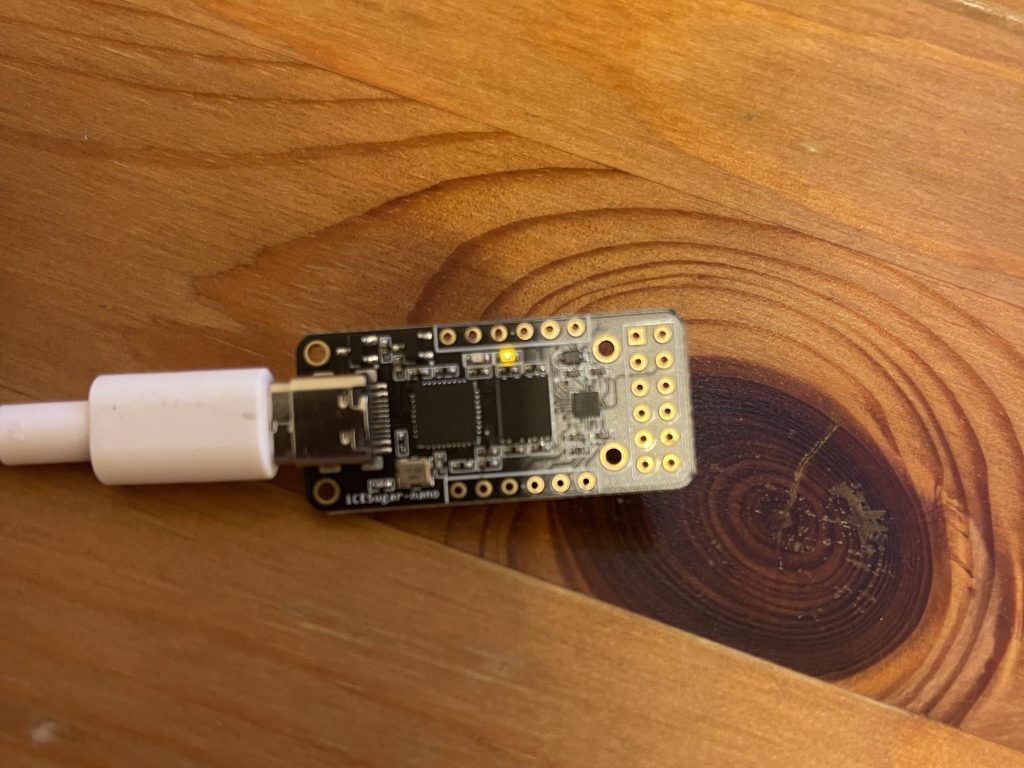
Bought from here. user manual: https://github.com/wuxx/icesugar-nano/blob/main/README.mdwin 7 serial driver: https://github.com/wuxx/icesugar-nano/blob/main/doc/usbser.infsource and semantics: https://github.com/wuxx/icesugar-nano Follow https://projectf.io/posts/building-ice40-fpga-toolchain/ . If you got this error: fatal error: 'ftdi.h' file not found, then modify config.mk in /Users/peter/workspace/icestorm: -I/usr/local/Cellar/libfdti/1.5-2/include/libftdi1/ If you don't have libftdi, you can port install libftdi Edit /Users/peter/workspace/icestorm/iceprog/Makefile All examples in https://github.com/wuxx/icesugar-nano , […] 2023/05/01
Arduino check I2C addresses
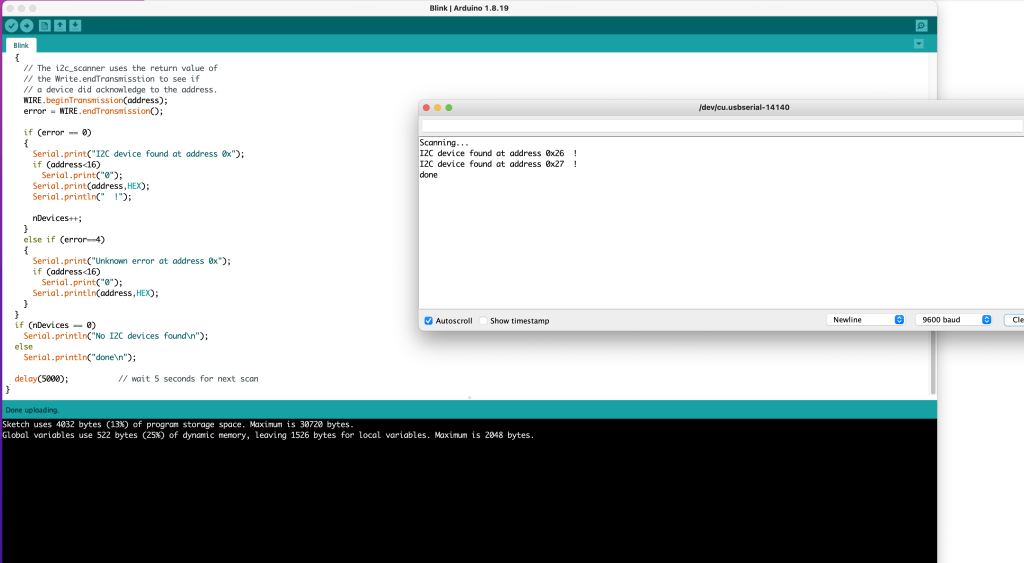
This code can check I2C address from multiple devices 2023/04/27
Arduino controls two 1602 LCD
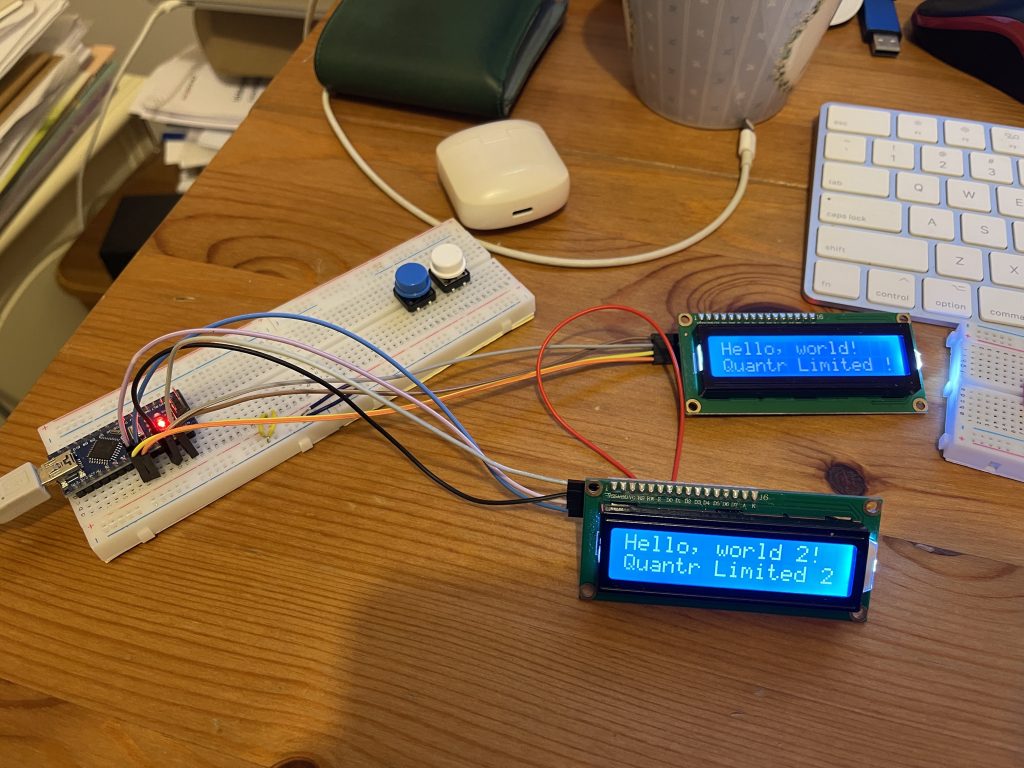
One LCD need to set the jump at back to have another I2C address 2023/04/27