How to use PFSBuilder
This tutorial work in windows/linux/mac
Step 1) Download the jar https://www.dropbox.com/s/do0ygc4z9dbxlwx/PFSBuilder-20140619.jar
Step 2) make sure you have java in your PC
Compress directory into PFS image
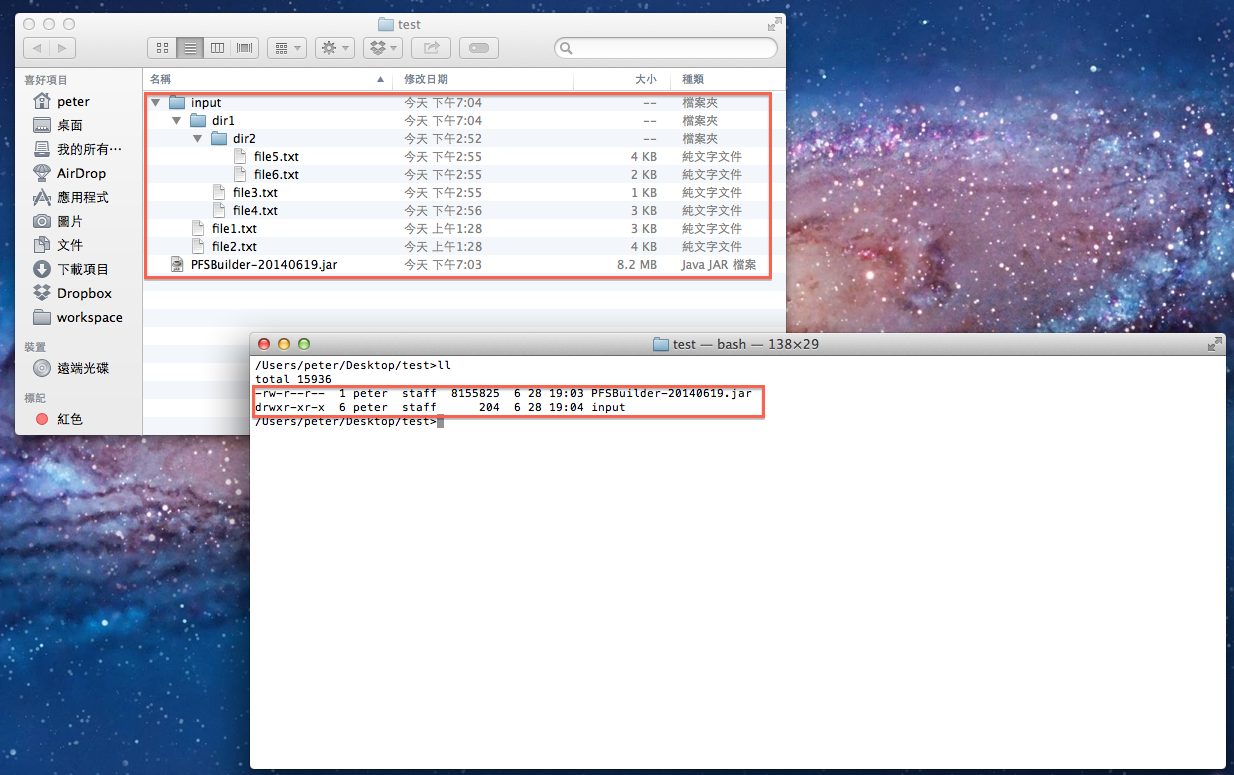
Step 1) Make sure PFSBuilder.jar is in your current directory
Step 2) Create a folder call "input" and put some files and directories in there
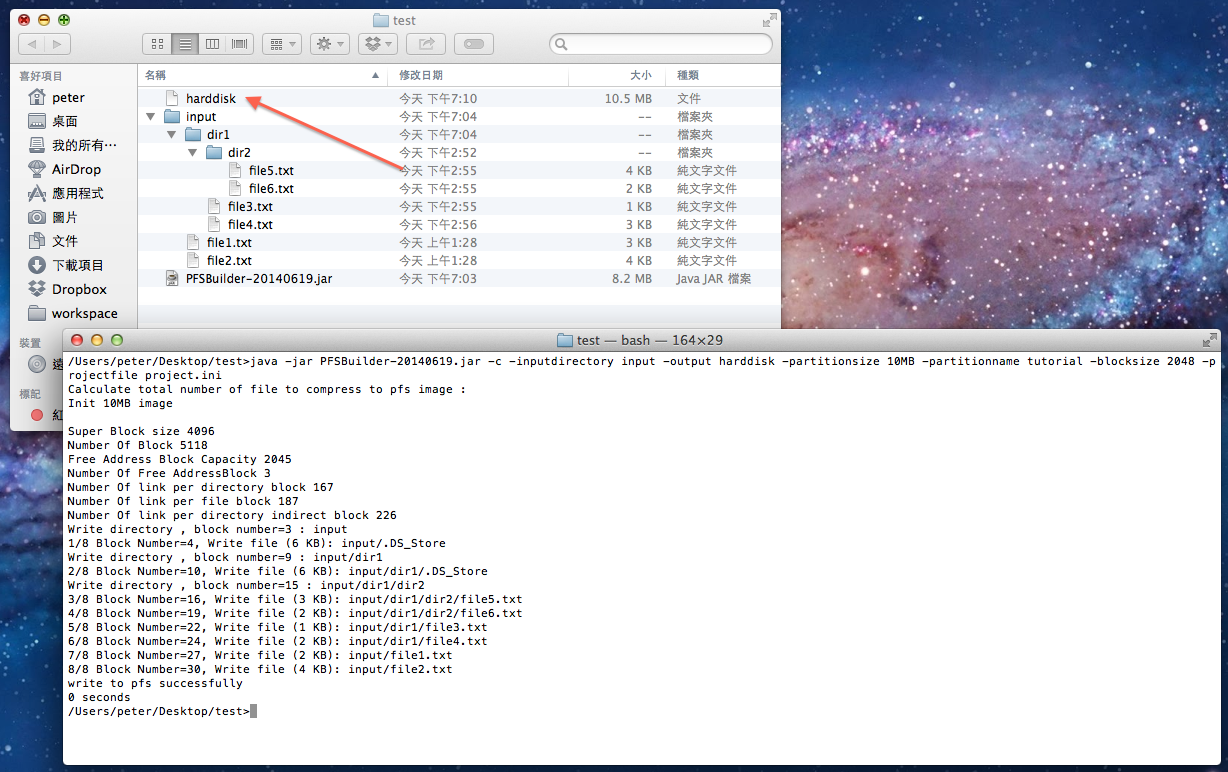
Step 3) PFSBuilder has two modes: GUI mode and command line mode. Type this command to compress the "input" folder into a PFS file image called "harddisk".
java -jar PFSBuilder-20140619.jar -c -inputdirectory input -output harddisk -partitionsize 10MB -partitionname tutorial -blocksize 2048 -projectfile project.ini
If the command is success, file "harddisk" will be created, see below
Compress directory into PFS image using GUI mode
Step 1) start PFSbuilder by -gui option
java -jar PFSBuilder-20140619.jar -gui
Step 2) Follow the below steps
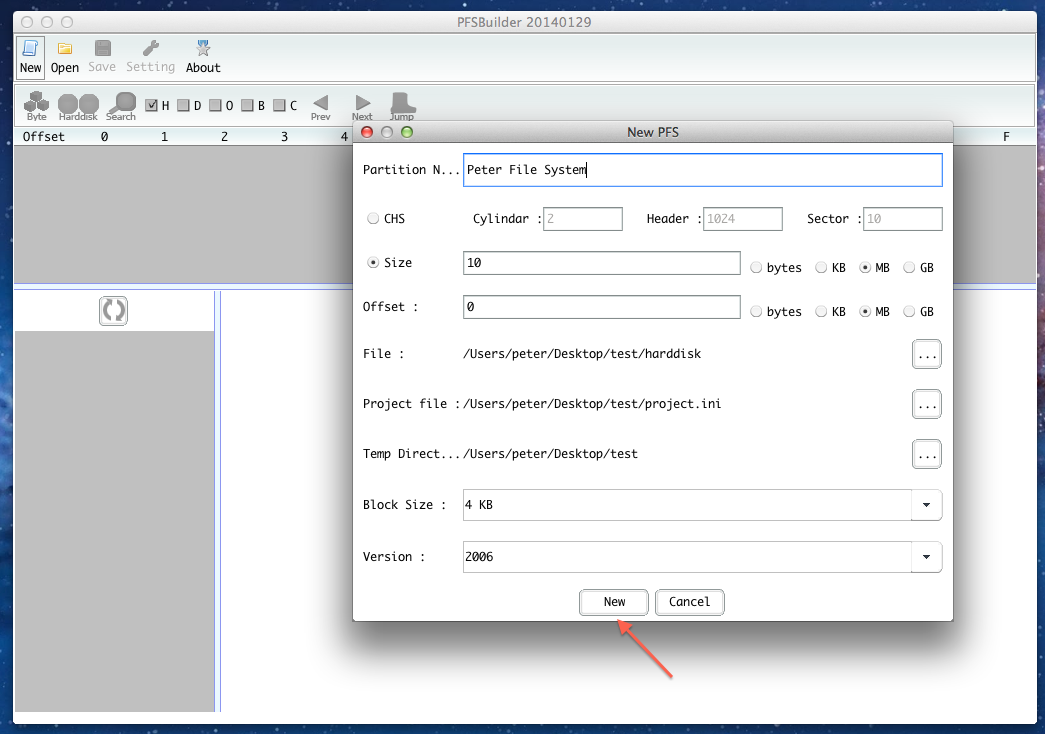
Click the "New button"

Type in details and click "New"
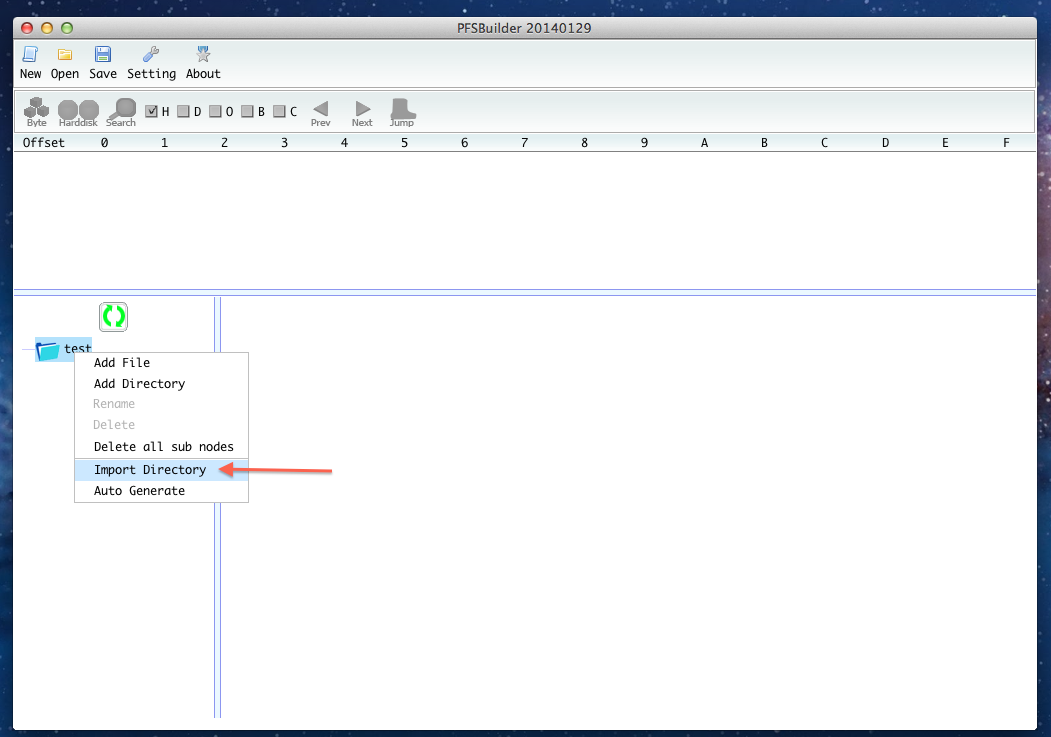
Right click the tree and click "Import Directory", select a folder you want to compress
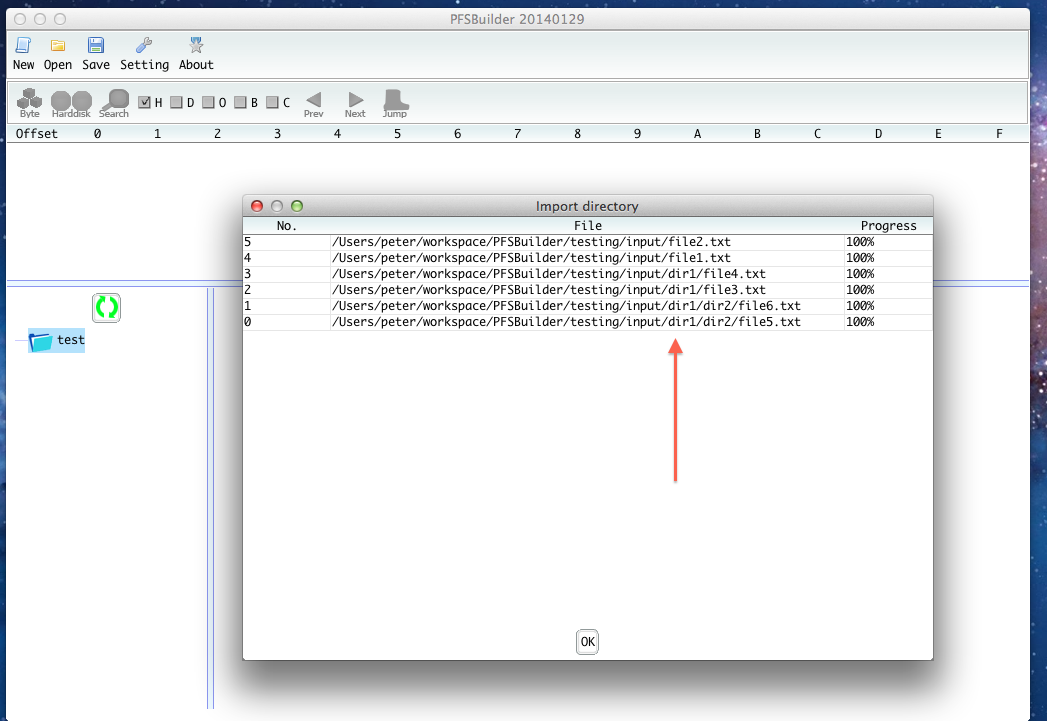
If it is success to import the directory, you see something like below image
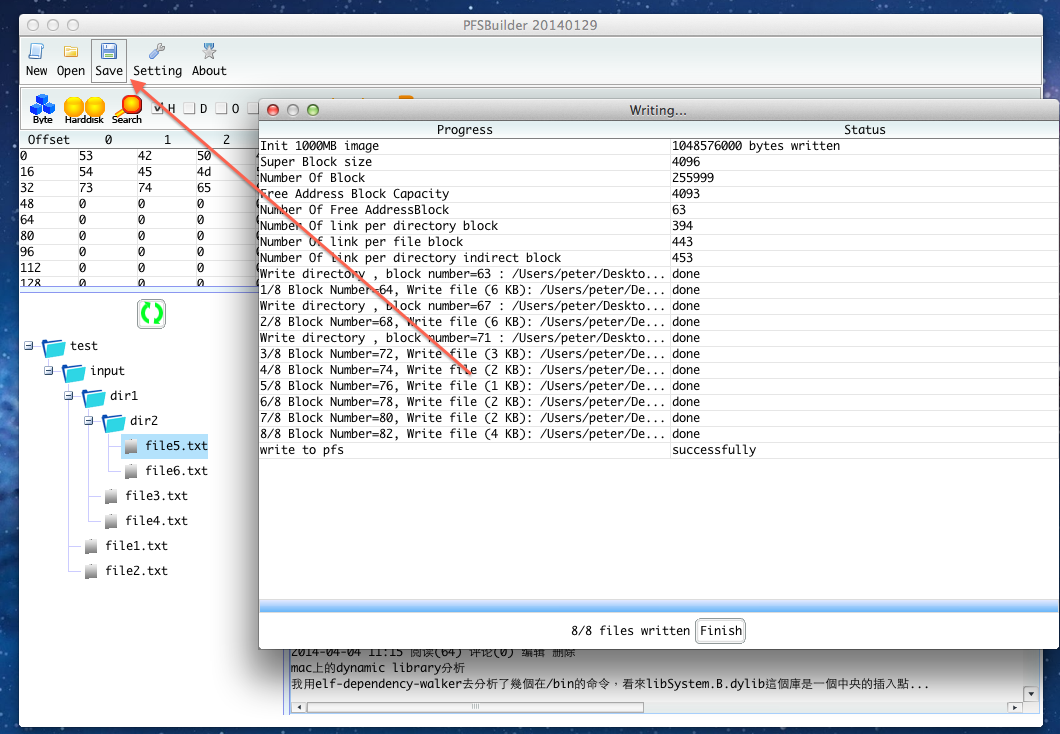
Click on any file on LHS, file content will be displayed on RHS

Finally, click "Save" button, the PFS file image will be created
Decompress PFS file image into a folder
java -jar PFSBuilder-20140619.jar -input harddisk -outputdirectory output -x -partitionoffset 0 -projectfile project.ini
It will extract all folders and files in PFS image "harddisk" to directory called "output"
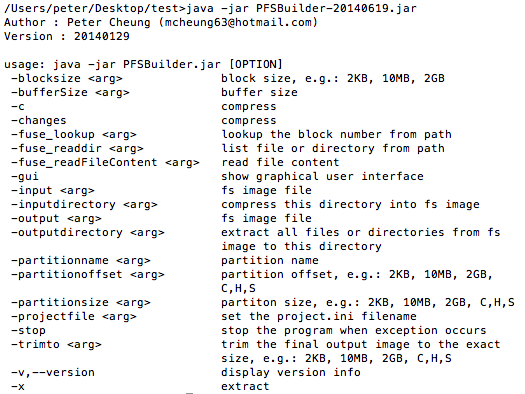
Command line options